For carbide tooling in face milling of steel and cast iron, a ±10% change in cutting speed can increase or decrease tool life by approximately 2× under typical conditions — a relationship stated directly in ISO 8688-1:1989 §6.2 (implied Taylor exponent n ≈ 0.15). For turning, the exponent varies with feed rate: small feeds give n ≈ 0.14-0.20, large feeds give n ≈ 0.25-0.33 per Machinery's Handbook 31st Edition Table 5b. The geometric Ra formula (f²/32r) predicts turning surface finish within 20-30% before cutting. These relationships provide useful engineering approximations, but real-world results vary with machine rigidity, tool geometry, and material behavior. This guide covers all four pillars: speed, quality, tool life, and cost per part.
Every machining operation is a compromise. Higher cutting speed increases throughput but shortens tool life. Deeper cuts boost metal removal rate but risk chatter and dimensional error. Aggressive coolant saves tools but costs money and creates disposal obligations. The difference between a profitable job and a money-losing one often comes down to how well these tradeoffs are managed. This guide covers the technical foundations, practical strategies, and systematic workflows that turn optimization from guesswork into engineering.
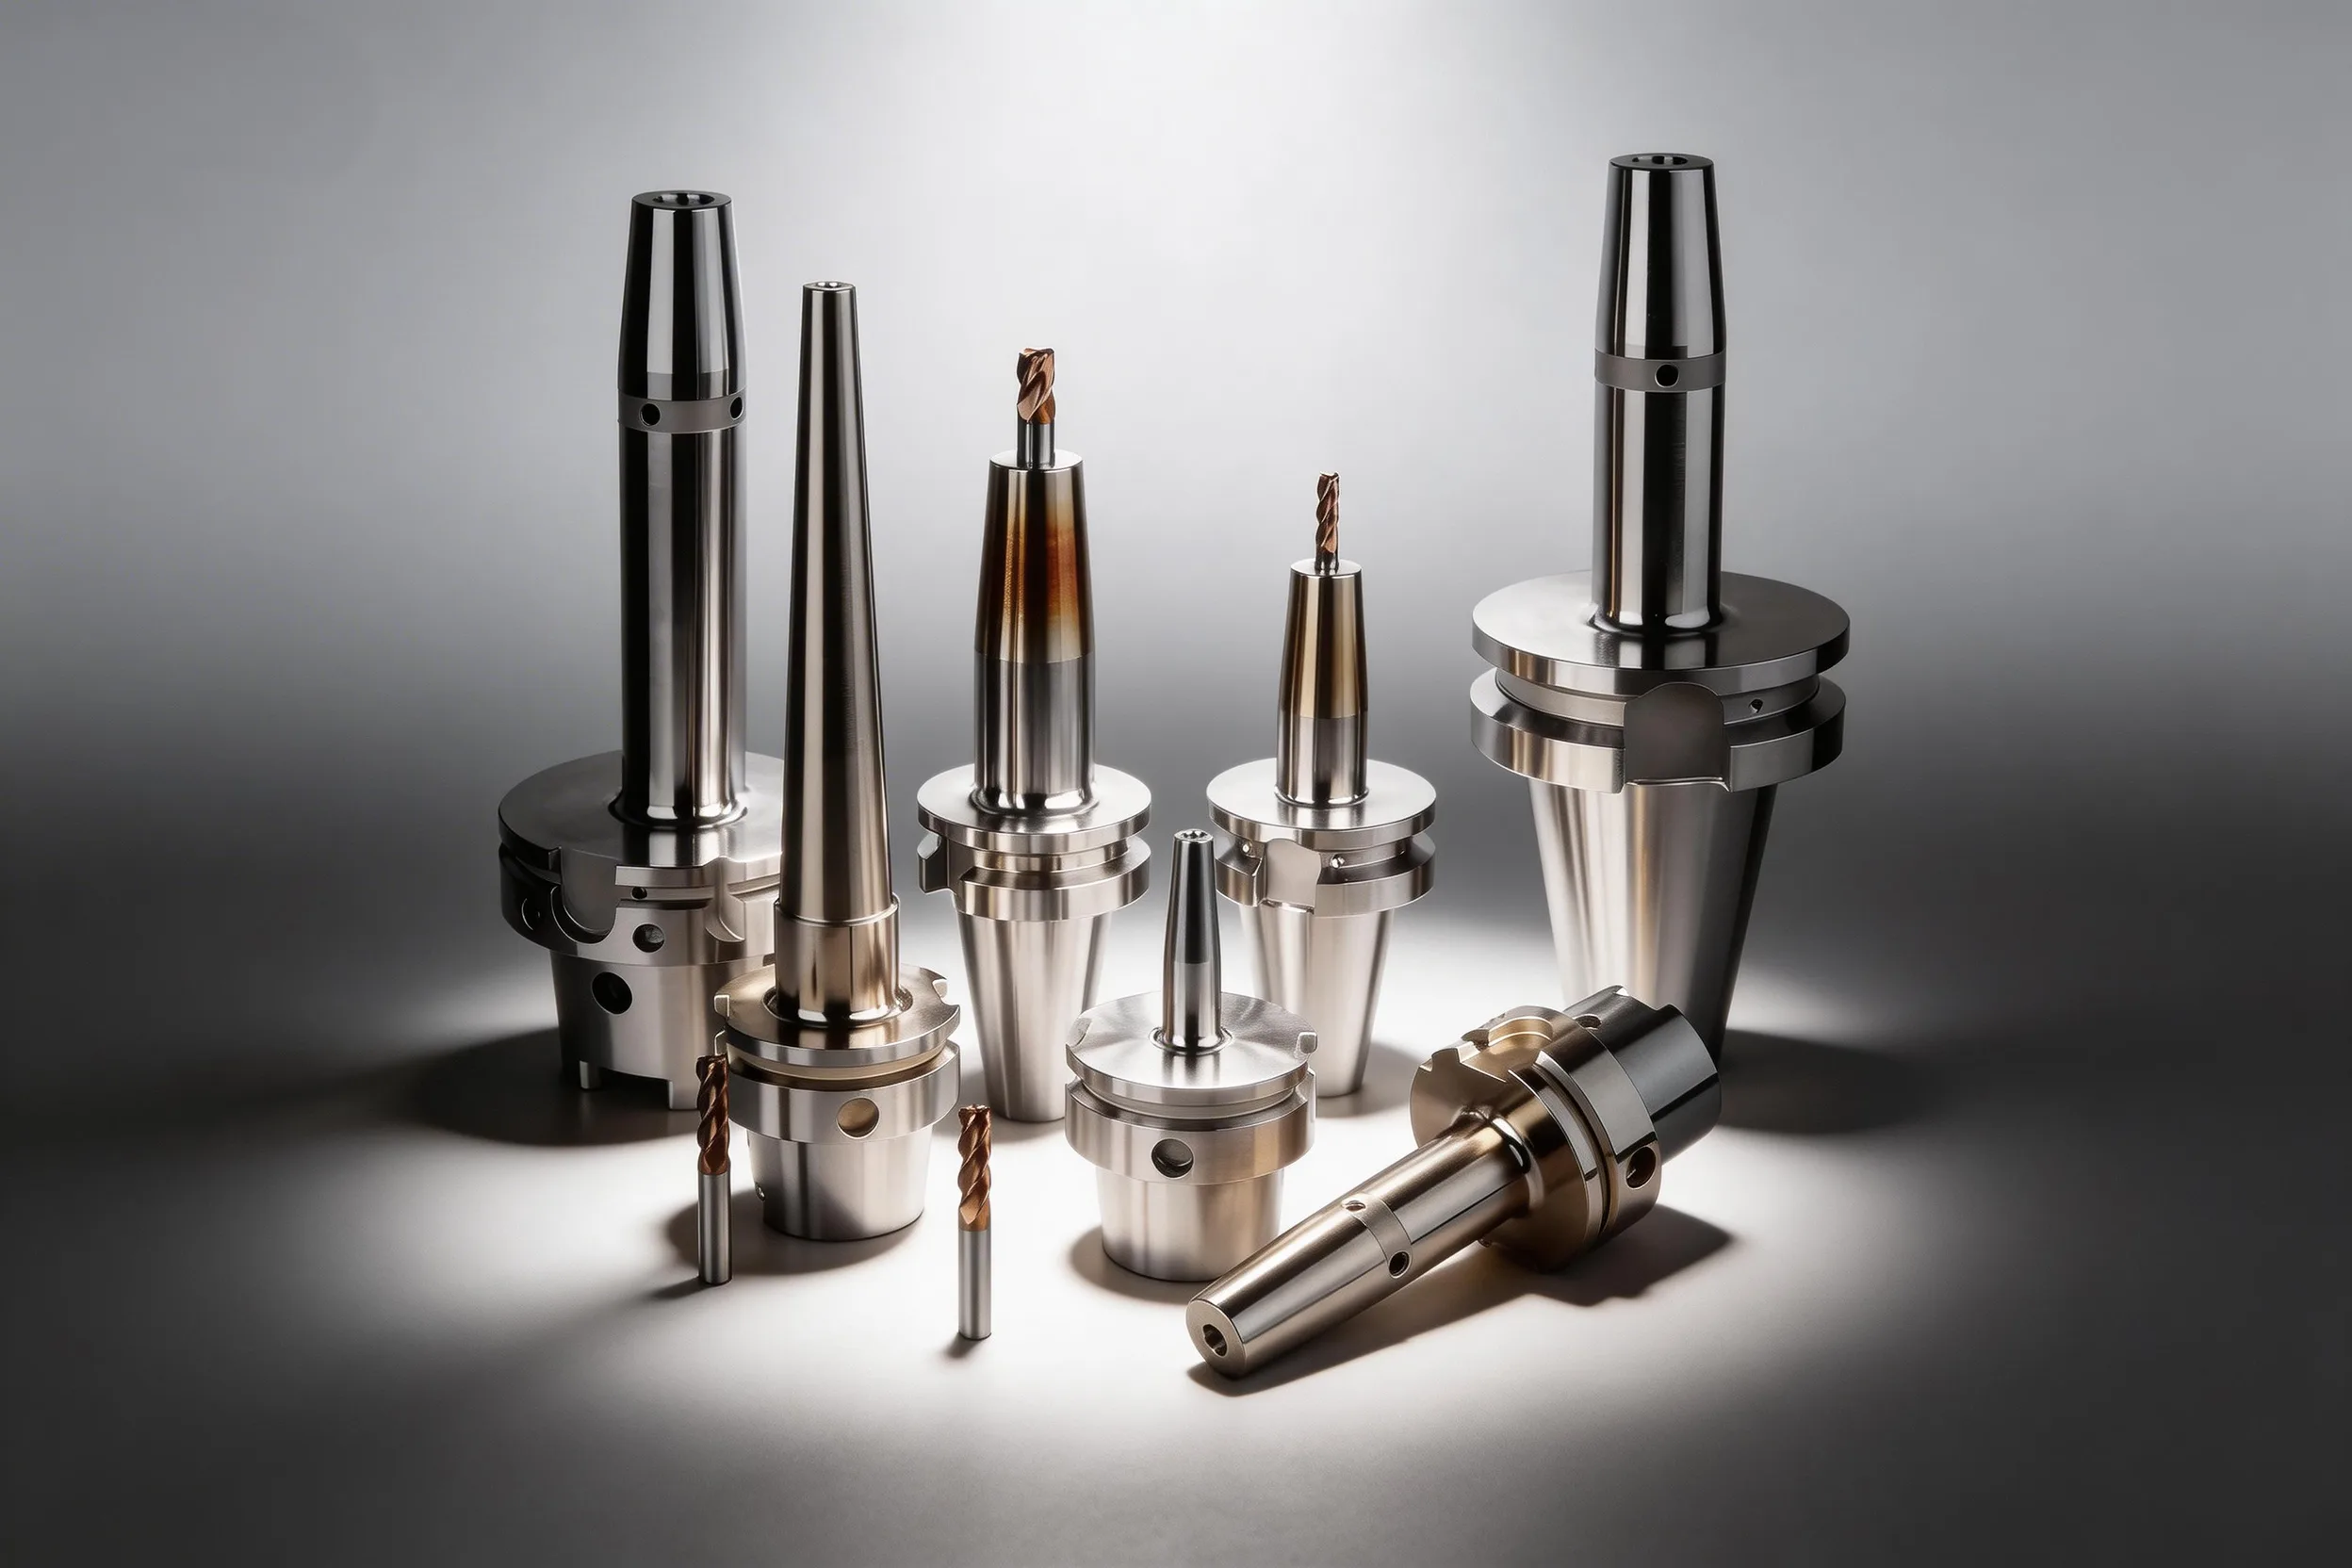
Tool Life Optimization
Tool life is one of the largest variable costs in CNC machining. A tool that lasts twice as long cuts tooling cost per part in half -- but tool life is not a fixed number. It is a function of cutting parameters, material properties, and wear management discipline.
The Taylor Tool Life Equation
The relationship between cutting speed and tool life follows Frederick Taylor's power law, established over a century ago and still fundamental:
VT^n = C
Where V is cutting speed (m/min), T is tool life (minutes), n is the Taylor exponent, and C is a constant. The exponent n determines how sensitive tool life is to speed changes. Lower n values mean tool life drops dramatically with small speed increases. Machinery's Handbook 31st Edition explicitly notes that "the slope n is assumed to be constant" in practice, but the actual slope varies with feed rate, depth of cut, and workpiece hardness — the simple equation is a useful approximation, not a law.
The following table shows Taylor exponents derived from Machinery's Handbook 31st Edition Table 5b (Tool Life Factors for Turning with Carbides, page 1103). Values are split by feed range because the exponent increases significantly with feed:
| Workpiece (Carbide Tooling) | Small Feed (finishing) | Large Feed (roughing) | Speed Reduction for 2x Life |
|---|---|---|---|
| Soft steel (<300 BHN) | n ≈ 0.14 | n ≈ 0.25 | 9-15% |
| Hard steel (>300 BHN); ceramics on any steel | n ≈ 0.20 | n ≈ 0.33 | 12-22% |
| Cast iron (carbide) | n ≈ 0.20-0.25 | n ≈ 0.25-0.30 | 13-18% |
| Aluminum alloys | n ≈ 0.30-0.40 | n ≈ 0.35-0.45 | 18-26% |
| Titanium alloys | n ≈ 0.08-0.12 | n ≈ 0.10-0.15 | 5-9% |
For face milling specifically, ISO 8688-1:1989 §6.2 states that a ±10% change in cutting speed can change tool life by approximately 2× under typical conditions — implying n ≈ 0.15 for face milling carbide on steel/cast iron. This is more conservative than turning (where n is higher) because face milling involves interrupted cutting with lower per-tooth thermal load.
The 10% Rule (Direct from ISO 8688-1:1989 §6.2)
ISO 8688-1:1989 §6.2 states verbatim: "a change of ±10% may result in an approximate doubling or halving of tool life" — for face milling carbide on steel and cast iron at recommended cutting conditions. For turning, the same 10% reduction yields anywhere from 1.5× life (large feeds, hard steel) to 2.1× life (small feeds, soft steel) depending on the actual exponent. Before investing in premium coatings or grades, verify that existing tools are not over-speed. This single adjustment often provides the highest ROI available.
Wear patterns as diagnostic tools: Flank wear (VB) is the primary metric for tool life testing. ISO 3685:1993 §8.2.2 defines the turning criterion as VB_B = 0.3 mm average (or 0.6 mm maximum for irregular wear). ISO 8688-1:1989 uses a comparable VB 1 = 0.35 mm example for face milling. Machinery's Handbook 31st Edition page 1196 gives a broader practical range of 0.25 to 0.8 mm depending on grade toughness — finishing tighter, roughing looser. ISO 3685 also defines a crater depth criterion for carbide: KT = 0.06 + 0.3f (mm), where f is feed in mm/rev. Crater wear on the rake face signals excessive temperature — reduce speed or add an Al₂O₃ coating layer. Notch wear at the depth-of-cut line is common in stainless and superalloys — vary depth between passes to distribute the load. Built-up edge means speed is too low; increase by 15-20%. Chipping means the grade is too brittle for the application or entry impact is too severe.
Cutting Parameter Relationships
Speed, feed, and depth of cut interact in predictable ways. Understanding the hierarchy allows you to maximize material removal rate (MRR) while controlling tool life and surface quality.
Parameter priority for productivity:
- Maximize depth of cut first (when rigidity permits) -- in rigid setups with adequate clamping, increasing depth of cut has the least impact on tool life relative to the MRR gain. However, in unstable conditions (thin walls, long overhang, difficult materials), aggressive depth can cause chatter or catastrophic failure.
- Increase feed rate second -- a 20% feed increase typically reduces tool life by 10-15%, but proportionally reduces cutting time.
- Increase cutting speed last -- speed has the strongest effect on tool life and generates the most heat.
Feed rate considerations for different operations:
| Operation | Feed Range (mm/rev or mm/tooth) | Primary Constraint |
|---|---|---|
| Roughing (turning) | 0.25-0.60 mm/rev | Tool strength, machine power |
| Finishing (turning) | 0.05-0.15 mm/rev | Surface finish requirement |
| Roughing (milling) | 0.10-0.25 mm/tooth | Chip load, spindle power |
| Finishing (milling) | 0.04-0.10 mm/tooth | Surface finish, tool deflection |
| Drilling | 0.05-0.35 mm/rev | Chip evacuation, hole straightness |
| Tapping | Determined by pitch | Thread form accuracy |
Minimum Chip Thickness
Every cutting edge has a minimum chip thickness below which it ploughs instead of cutting — typically 20-40% of the cutting edge radius. For sharp PVD-coated carbide inserts (edge radius 0.010-0.020 mm), this means 0.005-0.008 mm; for heavily honed CVD inserts (edge radius 0.040-0.060 mm), it can reach 0.015-0.025 mm. Operating below this threshold causes work hardening, increased cutting forces, poor surface finish, and accelerated wear. If the target surface finish requires a feed below the minimum chip thickness, increase the nose radius rather than reducing feed further.
Coolant Strategy
Coolant selection and application directly affect tool life, surface finish, chip evacuation, and operator health. The right strategy depends on the operation, material, and coating type.
Flood coolant (5-10% concentration) remains the default for most operations. It provides consistent cooling, chip evacuation, and corrosion protection. Best for drilling, tapping, and moderate-speed turning and milling. Concentration must be monitored daily with a refractometer -- drift is the leading cause of coolant-related problems including corrosion (too lean) and foaming (too rich).
High-pressure coolant (70-150 bar) transforms performance in difficult materials. Directed through the tool or holder at the cutting zone, it breaks chips in grooving and deep-hole drilling, reduces built-up edge in stainless steel, and can improve tool life 2-3x in difficult materials such as titanium, Inconel, and austenitic stainless steel. The investment in high-pressure pumps and through-tool holders pays back quickly on these demanding applications.
Minimum Quantity Lubrication (MQL) delivers 5-50 ml/hr of oil mist to the cutting zone. It eliminates the cost and environmental burden of flood coolant while providing adequate lubrication for milling aluminum, cast iron, and free-machining steels. MQL also eliminates thermal shock cycling -- the repeated heating and cooling that cracks CVD coatings in interrupted milling.
Dry machining is often preferred for TiAlN and AlCrN coatings in continuous, high-speed operations. These coatings form a protective oxide layer at elevated temperatures (800-1100°C) that acts as a thermal barrier. In such conditions, applying flood coolant can cause thermal shock cracking and may reduce tool life. However, in interrupted cuts, heavy-duty roughing, or low-speed operations, coolant can still be beneficial even with TiAlN/AlCrN coatings — the decision depends on the specific cutting condition, not just the coating. Dry machining also eliminates coolant disposal costs and produces dry chips with higher recycling value.
✦ Flood Coolant Best For
- General turning and milling of steel
- Drilling and tapping (chip evacuation critical)
- Materials requiring corrosion protection during machining
- Shops with established coolant management systems
✦ MQL / Dry Machining Best For
- Milling with CVD-coated inserts (eliminates thermal shock)
- Aluminum and cast iron at high cutting speeds
- TiAlN/AlCrN coated tools operating above 800C
- Shops reducing environmental footprint and disposal costs
Coolant Concentration Protocol
Check concentration with a refractometer at the start of every shift -- it takes 10 seconds and prevents the slow drift that causes 80% of coolant problems. Target 6-8% for general milling and turning, 8-12% for tapping. Never add neat concentrate to the sump -- always pre-mix to the target concentration in a separate container. Maintain pH between 8.5-9.2 and skim tramp oil daily.
For an in-depth comparison of fluid types, concentration ranges by operation, and sump maintenance schedules, see the CNC coolant selection guide.
Surface Finish Control
Surface finish specifications (Ra, Rz, Rmr) are among the most commonly failed quality requirements in precision machining. The physics is well understood, but applying it systematically separates capable shops from those that iterate by trial and error.
The nose radius formula for turning (geometric prediction, not from ISO 4287):
Theoretical Ra = f² / (32 × r)
Where f is feed per revolution (mm/rev) and r is tool nose radius (mm). This is a geometric prediction derived from the scallop pattern left by the tool nose between successive feed marks — it is not a measurement standard. ISO 4287 §4.2.1 defines Ra as the measurement Ra = (1/l)·∫|Z(x)|dx, but does not publish prediction formulas. The geometric relationship means feed rate dominates surface finish because it appears squared — halving the feed reduces theoretical Ra by 75%. Doubling the nose radius halves the Ra at the same feed rate while maintaining productivity.
| Feed (mm/rev) | Nose Radius 0.4mm | Nose Radius 0.8mm | Nose Radius 1.2mm |
|---|---|---|---|
| 0.05 | Ra 0.20 um | Ra 0.10 um | Ra 0.07 um |
| 0.10 | Ra 0.78 um | Ra 0.39 um | Ra 0.26 um |
| 0.15 | Ra 1.76 um | Ra 0.88 um | Ra 0.59 um |
| 0.20 | Ra 3.13 um | Ra 1.56 um | Ra 1.04 um |
| 0.30 | Ra 7.03 um | Ra 3.52 um | Ra 2.34 um |
Real-world finishes are typically 1.2-1.5x the theoretical value due to vibration, built-up edge, and tool wear. For face milling, wiper inserts flatten the scallop pattern and can achieve Ra 0.4 um at production feed rates. In end milling, climb (down) milling produces better finish than conventional (up) milling, and axial runout below 0.005mm is essential -- a face mill with 0.01mm axial runout produces Ra 1.6 um regardless of feed rate.
Vibration kills surface finish. Chatter marks are typically 10-50x worse than theoretical roughness. Before fine-tuning cutting parameters, eliminate vibration: reduce tool overhang, increase workholding rigidity, adjust spindle speed to avoid natural frequency excitation, reduce depth of cut, and use variable-helix or variable-pitch tools that disrupt the chatter feedback loop.
Rz Definition Has Changed
ISO 4287:1997 §4.1.3 defines Rz as the sum of the largest profile peak height and the largest valley depth within a single sampling length (Rz = Rp + Rv). This is different from the older DIN 4768 definition, where Rz was the mean of the five largest peak-to-valley heights. When reading drawings, verify which Rz definition applies — older drawings may use the DIN 4768 convention.
5-Axis and Multi-Axis Machining
5-axis machining adds two rotary axes to the standard three linear axes, enabling compound-angle access and single-setup machining of complex geometries. The primary financial case rests on setup elimination — reducing 3-4 setups to 1-2 saves 30-120 minutes of non-cutting time per part. Additionally, 3+2 positioning allows shorter tool stickout by tilting the workpiece to the tool, which can improve cutting efficiency by 20-40% on deep-pocket features through reduced deflection and higher feed rates.
3+2 positioning vs. simultaneous 5-axis:
3+2 positioning (indexed 5-axis) locks the rotary axes at a compound angle and cuts with standard 3-axis toolpaths. This delivers 80% of the setup-reduction benefit with 20% of the programming complexity. Most job shops justify a 5-axis machine on 3+2 work alone.
Simultaneous 5-axis moves all five axes continuously during cutting. Required for sculptured surfaces -- turbine blades, impellers, orthopedic implants -- but used on fewer than 20% of parts in a typical job shop. Programming requires dedicated CAM software ($15,000-$50,000) and 6-12 months of operator training.
When 5-axis makes financial sense:
- Average part requires 3+ setups on 3-axis machines
- Tolerance stack-up from multiple fixtures causes measurable rework
- Shop regularly declines work requiring compound-angle features
- At least one programmer can commit 6-12 months to the learning curve
When 5-axis is premature:
- Most parts are prismatic with 1-2 setups
- Existing 3-axis machine utilization is below 60%
- Shop runs long production batches of identical parts
- CAM programming capacity is already constrained
Automation and Industry 4.0
Automation in CNC machining extends productive machine hours without adding labor cost. The technologies range from simple tool life counters built into every modern controller to fully autonomous multi-pallet cells. The key insight for 2026 is that the highest-ROI automation investments are not the most technically advanced -- they are the ones that reliably add unattended hours.
Lights-out manufacturing -- running machines unattended overnight or over weekends -- is the most financially impactful automation step for most shops. Adding 8-16 hours of productive time per day transforms shop economics. Viable today for aluminum, brass, and free-machining steels with predictable chip behavior. Stainless and titanium require attended lights-out with an operator on call due to unpredictable chip management.
Tool condition monitoring (TCM) is the enabling technology for unattended operation. Spindle load monitoring -- available as a built-in function on most modern controllers -- detects tool breakage within 0.1-0.5 seconds by comparing spindle motor current against learned baselines. Vibration-based monitoring adds sensitivity for early-stage wear detection. Acoustic emission monitoring is the most sensitive but requires significant setup and calibration, limiting it to high-value production.
Pallet changers and robotic tending automate material handling:
- 2-pallet systems ($15,000-$40,000) enable setup during cutting
- Multi-pallet pools ($100,000-$500,000) provide hours of unattended capacity
- Collaborative robots ($30,000-$80,000) handle basic pick-and-place
- Zero-point clamping ($5,000-$20,000 per machine) enables 30-second fixture changes with 0.002-0.005mm repeatability
Digital tool management closes the data loop. Offline tool presetters measure tools before loading, eliminating manual measurement at the machine. RFID-tagged tooling transfers data directly to the controller. Tool life management in the controller triggers automatic sister tool substitution when the life limit is reached -- essential for lights-out confidence.
Staged Automation Implementation
Do not attempt full lights-out on day one. Stage 1 (months 0-6, $5,000-$20,000): enable spindle load monitoring, implement tool life counters, add remote monitoring. Stage 2 (months 6-18, $20,000-$80,000): add a 2-pallet system or bar feeder to the highest-utilization machine, begin running unattended second shifts on proven programs. Stage 3 (months 18-36, $80,000-$300,000+): invest in multi-pallet systems or robotic tending, implement offline presetting with data transfer. Validate each stage before expanding.
Optimization Workflow
Optimization is not a one-time event -- it is a systematic cycle of measurement, analysis, adjustment, and verification. The following workflow applies to any machining operation.
Step 1: Baseline measurement. Before changing anything, record current performance: cycle time, tool life (parts per edge), surface finish, dimensional accuracy, and scrap rate. Without a baseline, you cannot measure improvement.
Step 2: Identify the constraint. Every operation has one limiting factor:
- If scrap rate is high, the constraint is process stability (vibration, thermal drift, fixture design)
- If tool life is short, the constraint is cutting parameters or coolant strategy
- If cycle time is long, the constraint is non-cutting time (setup, tool changes, load/unload)
- If surface finish fails, the constraint is vibration, nose radius, or feed rate
Step 3: Adjust one variable at a time. Changing multiple parameters simultaneously makes it impossible to attribute results. Follow the parameter priority: depth of cut first, feed second, speed last. Document every change and its measured effect.
Step 4: Verify across a production run. A single test cut proves nothing. Run 20-50 parts to establish statistical confidence. Monitor tool wear progression, dimensional drift, and surface finish consistency over the run.
Step 5: Standardize and document. Lock the optimized parameters into the CNC program, tool management system, and setup sheets. If the optimized settings are not documented, they will drift back to previous values within weeks.
| Optimization Target | Primary Lever | Secondary Lever | Metric |
|---|---|---|---|
| Reduce tooling cost | Reduce cutting speed 10-15% | Optimize coolant type and pressure | Cost per part |
| Increase throughput | Maximize depth of cut | Increase feed rate | Parts per hour |
| Improve surface finish | Increase nose radius | Reduce feed rate | Ra measurement |
| Reduce scrap rate | Eliminate vibration | Improve fixture rigidity | Scrap percentage |
| Enable lights-out | Add tool monitoring | Implement sister tools | Unattended hours |
Do Not Optimize by Feel
The most expensive phrase in manufacturing is "we've always done it this way." Shops that optimize by feel rather than data leave 20-40% of potential productivity on the table. Every parameter change must be measured against the baseline with a clear metric. If the metric does not improve, revert the change. Intuition is valuable for generating hypotheses -- data is required for validating them.
Optimize systematically: measure the baseline, identify the constraint, adjust one variable, and verify across a production run.
The four pillars of CNC optimization -- speed, quality, tool life, and cost -- are interconnected. In stable setups, maximize depth of cut first for productivity gains with the least tool life impact. Per ISO 8688-1:1989 §6.2, reducing cutting speed by 10% in face milling carbide on steel can increase tool life by approximately 2× under typical conditions; for turning, the same reduction yields 1.5-2.1× life depending on feed rate and material hardness (per Machinery's Handbook 31st Table 5b). Use the geometric formula Ra = f²/(32r) to predict turning surface finish before cutting. Match coolant strategy to the operation: flood for drilling and tapping, MQL or dry for high-speed milling with modern coatings. Consider 5-axis when setup time exceeds 30% of total cycle time. Automate in stages, validating each level before expanding. Document every optimization so gains persist beyond the person who discovered them.
What is the most cost-effective way to extend tool life in steel machining?
Reduce cutting speed by 10%. ISO 8688-1:1989 §6.2 explicitly states that for face milling carbide on steel/cast iron, a ±10% speed change can increase or decrease tool life by approximately 2× under typical conditions. For turning, Machinery's Handbook 31st Table 5b shows the same 10% reduction yields anywhere from 1.5× life (large feeds, hard steel) to 2.1× life (small feeds, soft steel). This costs nothing to implement and is often the highest-ROI optimization available — though actual results depend on the dominant wear mechanism and cutting conditions.
Should I use flood coolant or MQL for CNC milling?
It depends on the material and coating. Flood coolant is essential for drilling, tapping, and steel milling where chip evacuation matters. MQL or dry machining is better for milling with CVD-coated inserts because it eliminates thermal shock cracking. For aluminum at high speeds, MQL provides adequate lubrication at lower cost and environmental impact than flood.
How do I calculate the surface finish before machining?
For turning, use Ra = f² / (32 × r), where f is feed per revolution in mm and r is tool nose radius in mm. For example, 0.10 mm/rev feed with a 0.8mm nose radius gives theoretical Ra = 0.10² / (32 × 0.8) = 0.01 / 25.6 = 0.00039 mm = 0.39 µm. Multiply by 1.2-1.5 for real-world conditions. For milling, replace feed with step-over and use the ball nose radius.
When does a 5-axis machine pay for itself?
A 5-axis investment ($240,000-$615,000 total) typically pays back in 2-4 years with moderate utilization. The financial case is strongest when your average part requires 3+ setups on 3-axis machines, saving 30-120 minutes of non-cutting time per part. At 500 parts/year with 45 minutes saved at $100/hr shop rate, the setup savings alone are $37,500/year.
What is the best first step in CNC automation?
Enable spindle load monitoring on your existing machines -- it is usually a built-in controller function that costs nothing to activate. This single step detects tool breakage within 0.1-0.5 seconds and is the minimum requirement for any unattended operation. Pair it with tool life counters and remote monitoring alerts before investing in pallet systems or robotics.
Sources
- Sandvik Coromant: Machining Knowledge and Technical Guides
- Machinery's Handbook, 31st Edition (Industrial Press) — Table 5b Tool Life Factors p1103, Tool Wear p1196, Taylor Equation p1198-1200
- Kennametal Engineering Resources: Tool Selection and Application
- ISO 3685:1993 — Tool-life testing with single-point turning tools
- ISO 8688-1:1989 — Tool life testing in milling — Part 1: Face milling — §6.2 (10% rule)
- ISO 4287:1997 — Surface texture: Profile method — Terms, definitions, and parameters